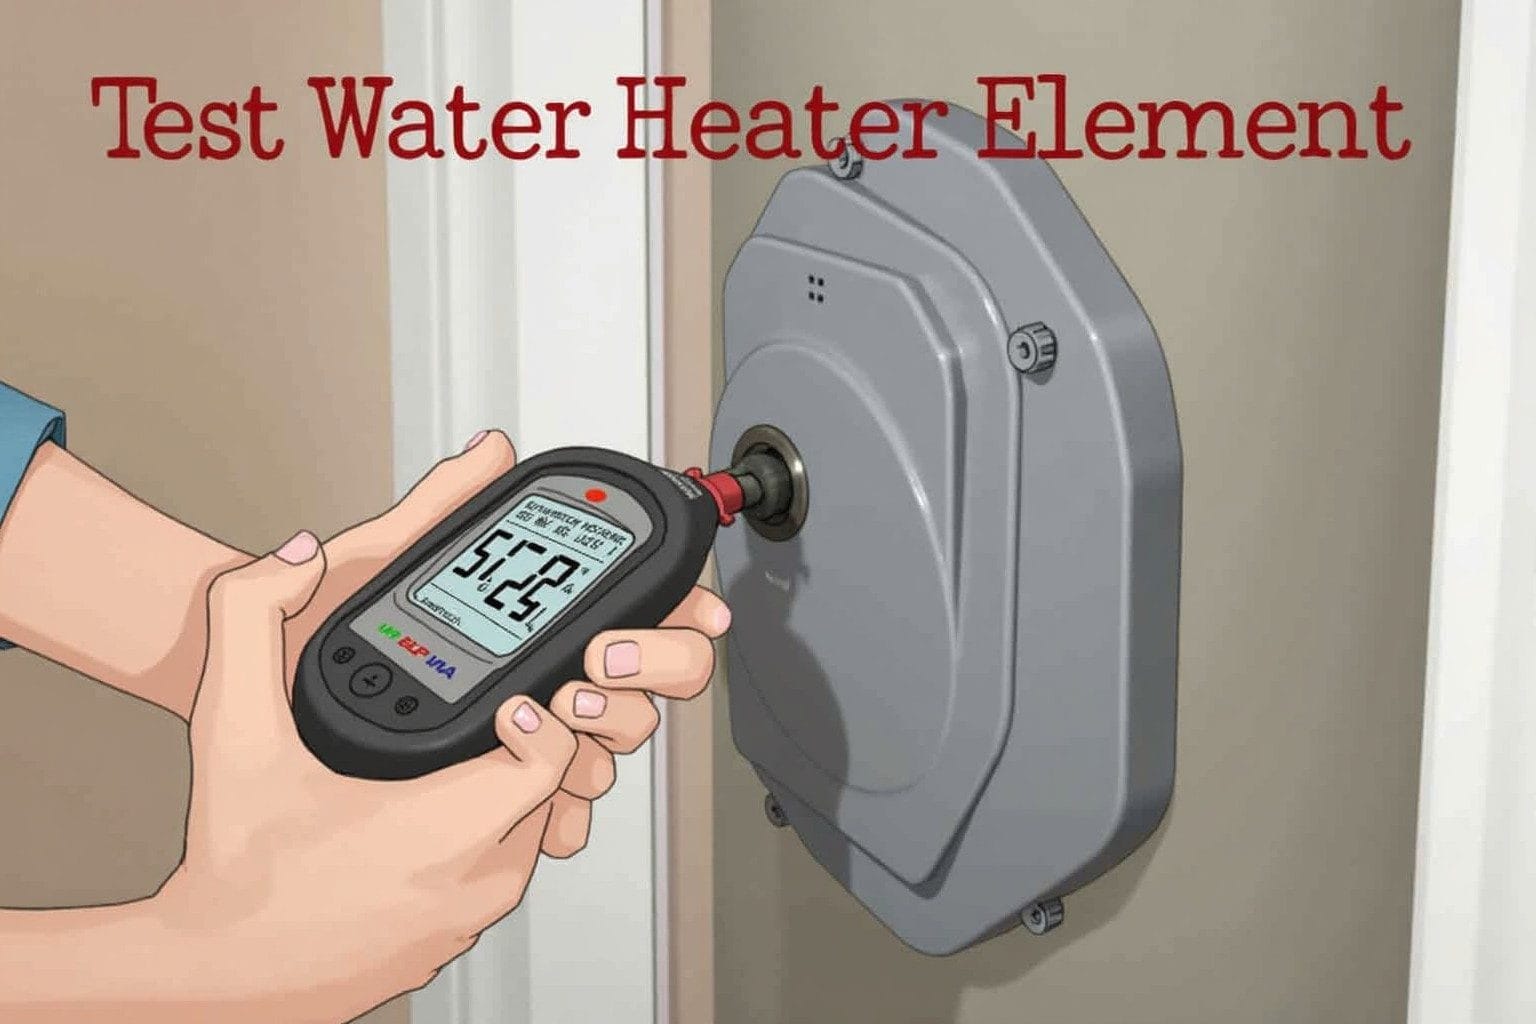
When your electric water heater stops producing hot water, a faulty heating element is often the culprit. While a multimeter is the gold standard for testing electrical components, not every homeowner has one readily available. The good news is that you can still diagnose a bad water heater element using basic household tools and simple observation techniques.
Testing a water heater’s heating element is crucial to determine if it needs replacement when troubleshooting no hot water issues. Alternative testing methods can help identify faulty components without specialized electrical equipment, though they may not provide readings as precise as professional tools.
Hot Water Detective: Test Your Element Using Basic Tools
Before diving into any testing procedures, safety must be your top priority. Always turn off the power to your water heater at the circuit breaker panel before beginning any inspection or testing. Double-check that the power is completely off by attempting to turn on a hot water faucet – if no hot water flows after several minutes, this confirms the power is disconnected.
Here’s what you’ll need for DIY water heater repair testing:
- Basic tools: Screwdriver set, flashlight or headlamp
- Testing aids: Test light (automotive type works well), spare light bulb and wire
- Safety equipment: Work gloves, safety glasses
- Optional: Camera or phone for documenting wire connections
Most electric water heaters have two heating elements – an upper and lower element that work in sequence. The upper element typically heats first, then switches to the lower element. Understanding this sequence helps when diagnosing which element may have failed.
Visual and Physical Inspection
Start your water heater problem diagnosis with a thorough visual inspection. Remove the access panels on your water heater (usually located on the side of the tank) and carefully examine the heating elements and surrounding components.

Signs Your Water Heater Heating Element is Failing
Look for these telltale signs of heating element failure:
- Visible corrosion or rust: White, green, or brown buildup around the element terminals
- Burned or blackened areas: Discoloration around connections indicates overheating
- Loose or corroded wire connections: Wires that appear damaged or poorly connected
- Physical damage: Cracked or broken element housing
- Mineral buildup: Heavy scale deposits that can insulate the element
During your visual inspection, also check the thermostat for any obvious signs of damage or burning. A faulty thermostat can prevent elements from receiving power even when they’re functioning properly.
Checking Connections and Insulation
Ensure all wire connections are tight and properly secured. Loose connections can cause arcing, leading to component failure and potential safety hazards. Proper connections and adequate insulation around the elements are essential for safe operation.
If you’re dealing with other water heater issues beyond heating problems, such as leaks that might be caused by faulty elements, addressing the heating element issue becomes even more critical for overall system health.
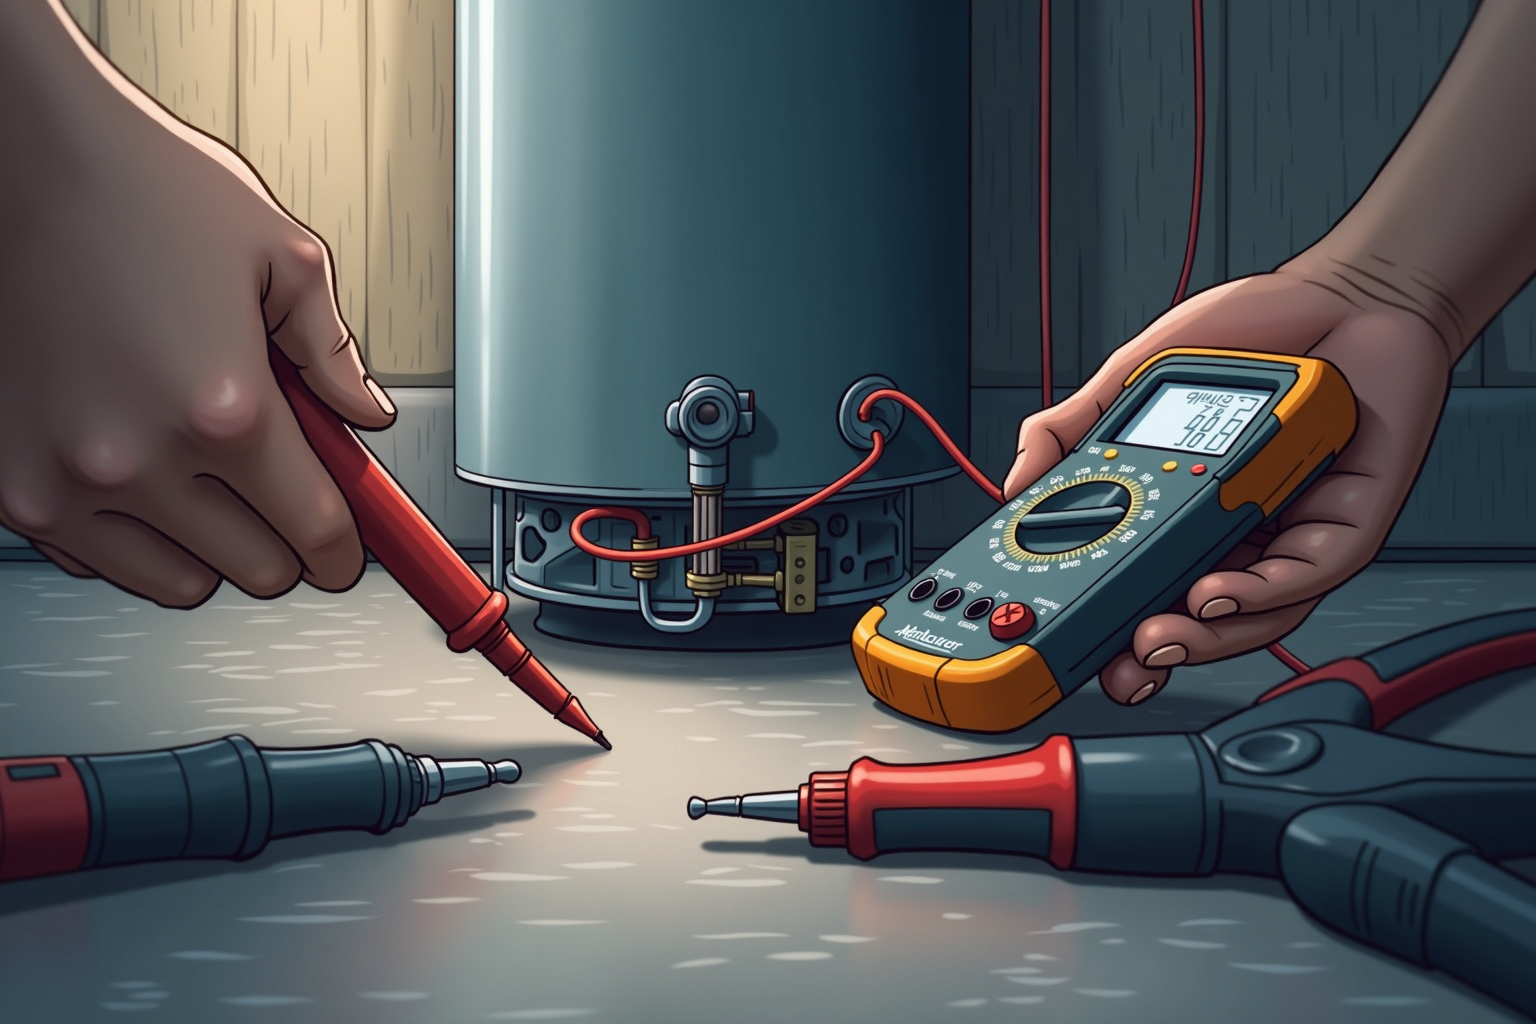
Using a Test Light to Verify Power
A simple automotive test light can help determine if power is reaching your heating elements. This method helps identify whether the problem lies with the power supply or the element itself.
Step-by-Step Power Testing
- Restore power: Turn the circuit breaker back on (temporarily for testing)
- Access the element: With the access panel removed, locate the element terminals
- Test for voltage: Touch the test light probe to each terminal while grounding the other end to the water heater tank
- Observe the results: The test light should illuminate if power is present
- Test both elements: Repeat for upper and lower elements
Important: Turn the power back off immediately after testing. Never work on electrical components with the power on.
If the test light illuminates at the element terminals but you’re still experiencing no hot water, the element itself is likely faulty. If there’s no power at the terminals, the issue may be with the thermostat, wiring, or circuit breaker.
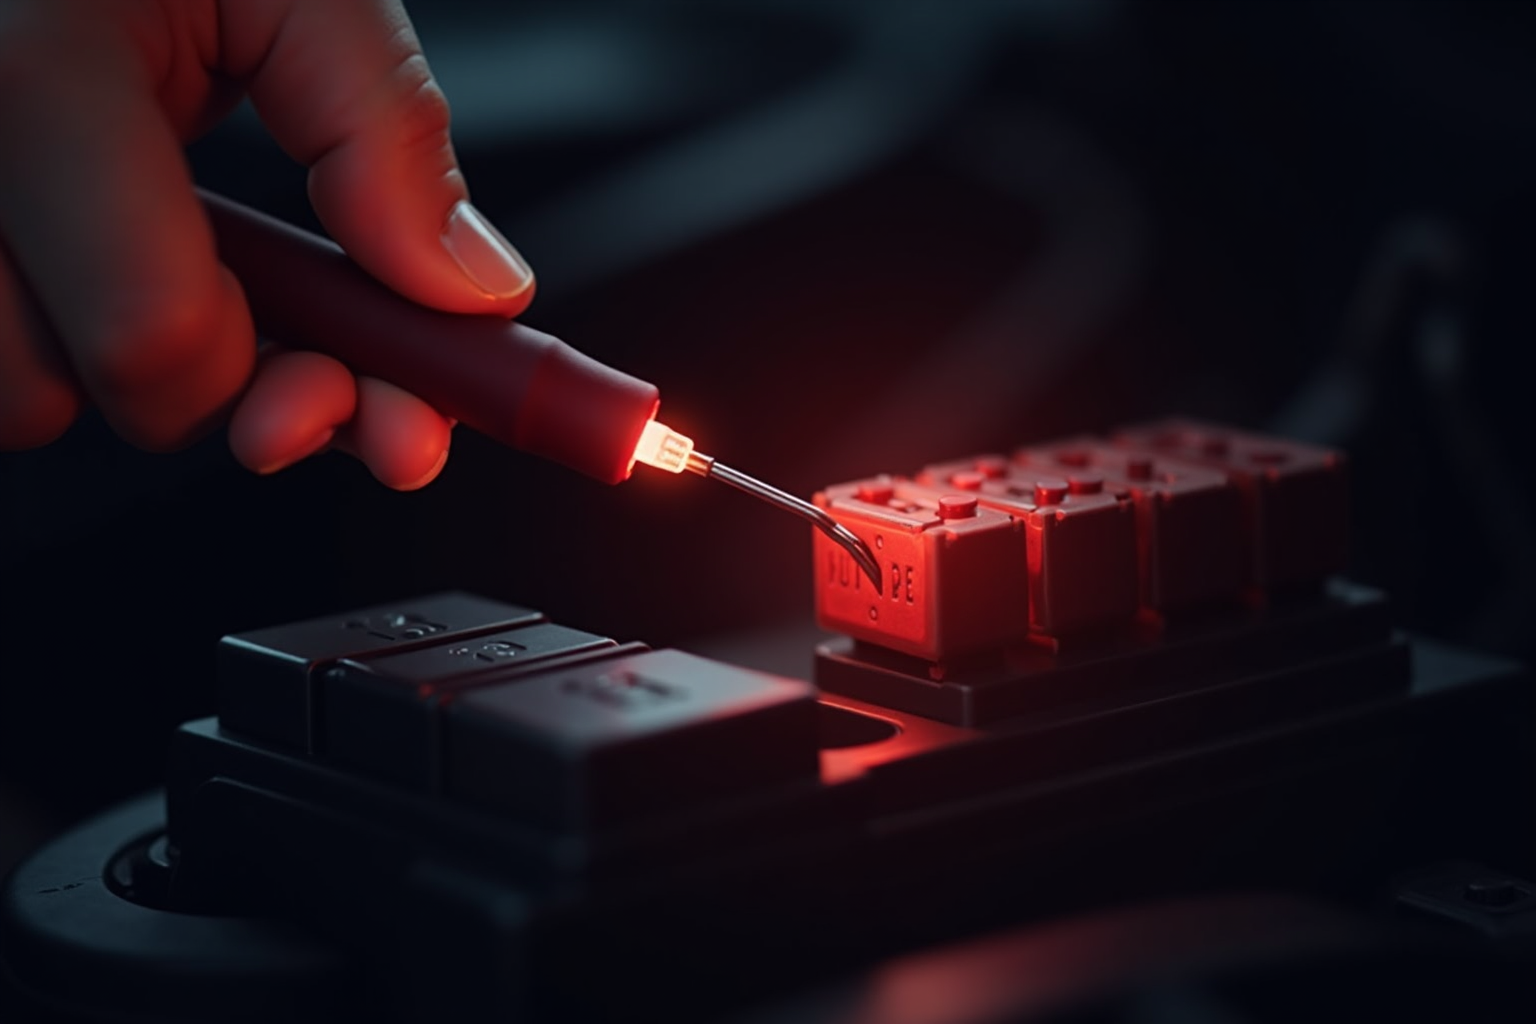
DIY Continuity Check with a Bulb or Wire
You can perform a basic continuity test using a simple light bulb and wire setup. This method helps determine if the heating element has an open circuit (burned out) or is still capable of conducting electricity.

Creating a Simple Continuity Tester
For this alternative testing method, you’ll need:
- A standard household light bulb (40-60 watts works best)
- Two pieces of insulated wire (12-14 gauge)
- Wire nuts or electrical tape
- A power source (extension cord with exposed ends)
Testing Procedure
- Ensure power is off: Confirm the water heater power is disconnected
- Disconnect element wires: Remove wires from the element terminals
- Create test circuit: Connect one wire from your power source to one element terminal
- Complete the circuit: Connect the light bulb between the other element terminal and the remaining power source wire
- Test briefly: Plug in your test setup momentarily
If the element has continuity (is not burned out), the light bulb will illuminate. A burned-out element will prevent current flow, keeping the bulb dark.
Safety Note: This method involves working with live electricity. If you’re not comfortable with electrical work, consider seeking professional help or using other diagnostic methods.
Hot Water Performance Test
Sometimes the most telling test is simply observing your water heater’s performance under normal operating conditions. This practical approach can reveal element problems without any electrical testing.
Temperature and Flow Analysis
Monitor your hot water system with these simple checks:
- Water temperature consistency: Note if water starts hot but quickly turns lukewarm
- Recovery time: Track how long it takes to reheat after heavy use
- Total hot water capacity: Measure how much hot water you get before it runs cold
- Thermostat behavior: Observe if adjusting the temperature setting affects performance
Interpreting Performance Results
Different symptoms can indicate specific element failures:
- No hot water at all: Likely upper element failure or power supply issue
- Some hot water, but not enough: Probably lower element failure
- Water heats slowly: May indicate scaling on elements or weak element performance
- Lukewarm water only: Could suggest thermostat problems or element inefficiency
This performance-based diagnosis helps you understand whether you’re dealing with a broken water heater that needs immediate attention or a component that’s gradually failing.
Final Heat Verdict: Next Steps When Tests Fail
After completing your DIY diagnostic tests, you’ll have a clearer picture of your water heater’s condition. Here’s how to interpret your findings and decide on the best course of action.
When to Replace vs. Repair
Consider heating element replacement if:
- Visual inspection reveals obvious damage or corrosion
- Continuity tests show the element is burned out
- Performance tests indicate insufficient heating capacity
- The element is more than 8-10 years old
However, if your tests reveal broader issues – such as problems with the thermostat, wiring, or multiple component failures – professional evaluation may be necessary.
Professional Help Indicators
Call a professional if you encounter:
- Circuit breaker repeatedly tripping (possible electrical safety issue)
- Evidence of water leaks around electrical components
- Multiple failed components or complex wiring problems
- Uncertainty about electrical safety procedures
Remember that preventing water damage is crucial, so don’t delay addressing water heater problems that could lead to leaks or complete system failure.
Preventive Maintenance Tips
To extend the life of your heating elements and avoid future problems:
- Flush your water heater annually to remove sediment buildup
- Check and replace the sacrificial anode every 3-5 years
- Monitor for unusual sounds that might indicate other water heater issues
- Address drainage problems promptly to prevent sediment accumulation
Frequently Asked Questions
Can you test a water heater heating element without a multimeter?
Yes, you can use visual inspection, test lights, simple continuity checks with light bulbs, and performance monitoring to diagnose heating element problems without a multimeter.
What are the signs of a bad water heater heating element?
Common signs include no hot water, insufficient hot water, slow heating, visible corrosion or damage on the element, and frequent circuit breaker tripping.
How can I tell if my water heater element is burnt out?
A burnt-out element typically shows no electrical continuity, may have visible damage or discoloration, and results in no hot water production or severely reduced heating capacity.
Is it safe to test a water heater element without proper tools?
While basic visual inspection is safe, any electrical testing requires proper safety precautions, including turning off power at the circuit breaker. When in doubt, consult a professional.
Testing your water heater heating element without a multimeter is entirely possible using these practical methods. Start with visual inspection and performance monitoring, then progress to electrical testing only if you’re comfortable with basic electrical safety procedures. Remember, identifying the problem is the first step toward restoring your hot water supply and maintaining your home’s comfort and functionality.