Your toilet is one of the hardest working fixtures in your home, and like any essential piece of equipment, it requires a bit of attention to keep it functioning flawlessly. Regular toilet maintenance not only prevents inconvenient breakdowns and costly water bills but also helps prolong the toilet lifespan. This guide will walk you through everything you need to know, from routine cleaning to simple DIY toilet repair, ensuring your throne remains a reliable part of your bathroom for years to come.
Seat Yourself for Success
Before diving into the nitty-gritty of toilet maintenance, it’s helpful to understand the basics. Most toilets, whether a standard model or a high-efficiency dual-flush toilet, consist of two main parts: the tank (or cistern) and the bowl. Inside the tank, you’ll find the fill valve, which refills the tank with water, and the flush valve, which releases water into the bowl when you flush. The bowl is designed to hold water and then funnel waste into your home’s drainage system and eventually to the sewage line. Understanding how a toilet works in more detail can demystify many common issues and empower you to tackle them.

Familiarizing yourself with these components will make troubleshooting and repairs much easier. Whether you own a Kohler, a Toto, or another brand, the fundamental principles of operation and maintenance are largely the same. Investing a little time in understanding your toilet is the first step to confident DIY care and will significantly prolong your toilet lifespan.
Routine Cleaning and Hygiene
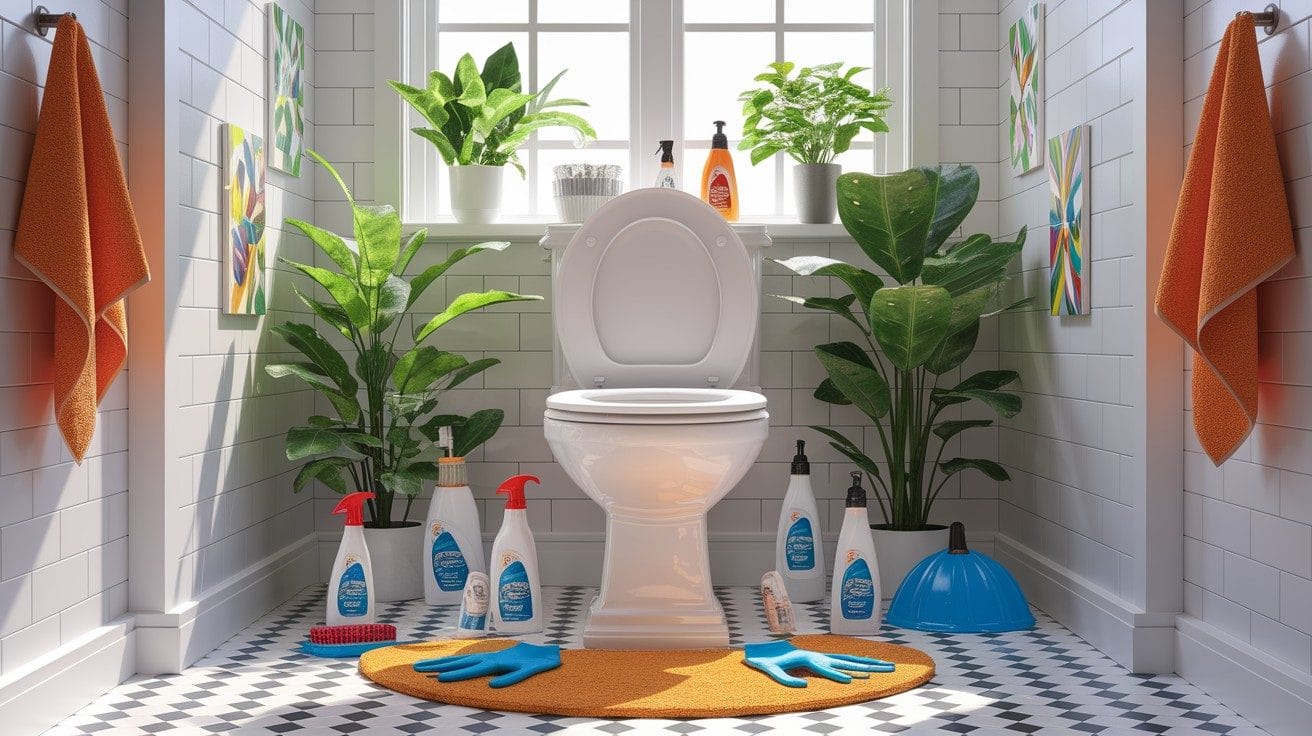
Consistent cleaning is the cornerstone of good toilet maintenance and hygiene. But “how often should you clean your toilet?” Aim to clean your toilet thoroughly at least once a week for optimal cleanliness and to prevent buildup. More frequent cleaning might be necessary for busy households.
What You’ll Need:
- Toilet brush
- Toilet bowl cleaner (commercial, vinegar, or baking soda solution)
- Disinfectant spray or wipes
- Rubber gloves
- Paper towels or cleaning cloths
Cleaning Steps:
- The Bowl: Apply your chosen toilet bowl cleaner under the rim and let it sit for a few minutes to break down grime and bacteria. Scrub thoroughly with a toilet brush, ensuring you get under the rim and down into the trap. Flush to rinse. For the “best way to clean hard water stains from toilet bowl,” a paste of vinegar and baking soda left to sit for 15-30 minutes before scrubbing can a_new_text_contentis often effective. Pumice stones designed for porcelain can also be used carefully on stubborn stains.
- The Seat and Lid: Use disinfectant spray or wipes to clean the top and underside of the seat and lid. Pay attention to the hinges, where grime can accumulate.
- The Exterior: Wipe down the tank, handle, and the entire outer surface of the bowl, including the base.
- Odor Control: Regular cleaning is the best form of odor control. If a persistent bad smell remains despite cleaning, it might indicate a more serious issue discussed later.
A common question is, “Can I use bleach in my toilet tank?” While bleach is a powerful disinfectant for the bowl, it’s generally not recommended to put bleach tablets or liquid bleach directly into the tank. Bleach can degrade rubber and plastic components like the flapper and gaskets over time, leading to leaks and the need for premature flapper valve replacement or other repairs. If you’re concerned about tank cleanliness or “how to remove mold from toilet tank,” opt for products specifically designed for tank cleaning or use vinegar (pour in about a cup, let it sit for an hour, then scrub gently and flush). This is a key aspect of toilet maintenance tips to prevent problems.
Inspecting and Preventing Common Issues
Preventative toilet maintenance involves regular inspections to catch small problems before they escalate. Make these checks part of your routine:

Listen for Leaks:
One of the most common questions homeowners ask is, “Why is my toilet constantly running?” A running toilet is a major water waster. Often, the sound of water constantly running is the first clue. This could be due to a faulty flapper valve, a misaligned chain, or fill valve issues. For a detailed breakdown, you might want to explore the causes of a running toilet. If you suspect your “toilet tank is losing water but no leak” is visible externally, it’s likely an internal leak within the tank, often called a phantom flush. This could be a slow leak through the flapper valve. You can diagnose this using the food coloring test: add a few drops of food coloring to the tank water and wait 15-20 minutes without flushing. If color appears in the bowl, your flapper is leaking.
Check for External Leaks:
Inspect the base of the toilet for any signs of water pooling. Look at the water supply line connection to the tank and the bolts securing the tank to the bowl. Even small damp spots can indicate a problem that needs addressing to prevent water damage. Answering “How do I stop my toilet from leaking?” depends on the source, which this inspection helps identify.
Test the Flush:
“What causes a toilet to have a weak flush?” Several factors can contribute to a weak flush: a low water level in the tank, a partially clogged drain, clogged rim jets (the small holes under the bowl rim that release water), or a flapper that closes too soon. Ensuring the water level in the tank is at the manufacturer’s recommended mark (usually an inch below the overflow tube) is a good first step in “troubleshooting a weak toilet flush.”
Notice Odors and Noises:
“Why does my toilet smell bad?” If you notice a persistent sewer gas smell even after cleaning, it could indicate a problem with the wax ring at the base of the toilet, or an issue with the vent stack. If your toilet smells like sewage, it’s a sign that needs prompt attention. Similarly, “is it normal for a toilet to make gurgling noises?” Gurgling can sometimes indicate a venting problem in your plumbing system or the beginning of a clog in the drainage system.
Inspect Tank Components:
Periodically lift the tank lid (carefully!) and observe the components. Look for worn-out parts, sediment buildup, or incorrect water levels. This proactive check can help identify potential fill valve issues or signal the need for a flapper valve replacement before they cause major problems. Quality replacement parts, like those from Fluidmaster, can enhance reliability.
Simple Repairs and When to Call a Pro
Many common toilet problems are surprisingly easy to fix yourself, saving you time and money. Here are some typical DIY toilet repair tasks:
Unclogging a Toilet:
“What is the best way to unclog a toilet?” A good plunger (flange plunger is best for toilets) is your first line of defense against a clogged toilet. Ensure there’s enough water in the bowl to cover the plunger cup, position it for a good seal over the drain opening, and plunge vigorously 15-20 times. Often, this is all it takes. For “what to do if your toilet is overflowing,” the first step is to stop the water flow by turning off the shut-off valve located behind or near the toilet base. Then, attempt plunging. Some “natural ways to unclog a blocked toilet” include using hot (not boiling) water poured slowly into the bowl, or a mixture of baking soda and vinegar, though these are best for minor clogs. Refer to common reasons toilets clog to help prevent future issues, such as flushing non-flushable items.
Fixing a Running Toilet:
As mentioned, a running toilet often means you need to address “how to fix a running toilet that won’t stop.” This usually involves:
- Adjusting the Chain: If the chain connecting the flush handle to the flapper is too long or too short, it can prevent the flapper from sealing properly. Adjust it so there’s only a little slack.
- Flapper Valve Replacement: Flappers degrade over time. “How to replace a flapper in a toilet tank” is a simple process: turn off the water supply, drain the tank, remove the old flapper, and install the new one, connecting the chain. This is a key toilet repair that significantly impacts water conservation.
- Fill Valve Issues: If the fill valve (like a Fluidmaster 400A) is faulty, it might not shut off correctly, causing water to continuously run or the tank to fill slowly. Replacing a fill valve is a common DIY toilet repair.
Replacing a Wax Ring:
“What is a wax ring and when does it need to be replaced?” The wax ring creates a watertight seal between the base of the toilet and the drainpipe on the floor. “Signs your toilet wax ring needs replacing” include water seeping from the base of the toilet, a persistent sewer odor, or if the toilet feels wobbly. Replacing a wax ring is a more involved DIY task, requiring you to remove the toilet, but it’s manageable with patience and careful attention to instructions.
When to Call a Pro:
While many toilet maintenance tasks and repairs are DIY-friendly, there are times when calling a professional plumber is the best course of action:
- Persistent Clogs: If your toilet clogs frequently despite your best efforts, there might be a deeper issue in your drainage system or sewage line.
- Major Leaks: If you can’t locate the source of a leak or if it’s substantial.
- Cracked Porcelain: A cracked tank or bowl usually requires toilet replacement.
- Sewer Gas Odors: If replacing the wax ring doesn’t solve the sewer gas smell.
- Complex Plumbing Issues: If you suspect problems beyond the toilet itself, like issues with the main stack or vent pipes.
Recognizing your limits is key to avoiding more significant and costly problems down the line. Sometimes a more robust toilet like a Champion 4, known for its powerful flush, might be considered if clogs are a persistent issue related to an older, less efficient toilet model.
The Last Flush: Keep Your Throne Thriving
Consistent toilet maintenance is not just about fixing problems as they arise; it’s about preventing them in the first place and ensuring your toilet operates efficiently for its entire lifespan. By incorporating regular cleaning, periodic inspections, and timely DIY toilet repair for common issues like flapper valve replacement or addressing fill valve issues, you can flush with confidence every time.
Remember these key takeaways:
- Clean Regularly: Weekly cleaning prevents build-up and odors.
- Inspect Often: Listen for running water, check for leaks, and monitor flush performance.
- Address Issues Promptly: Small fixes now prevent big headaches later. Don’t ignore a running toilet or a slow leak.
- Know Your Limits: Tackle simple DIY repairs, but don’t hesitate to call a professional plumber for complex or recurring problems.
By following these toilet maintenance tips to prevent problems, you’ll not only ensure a hygienic and well-functioning bathroom fixture but also contribute to water conservation and prolong your toilet lifespan. A little care goes a long way in keeping your throne – and your home’s plumbing – in top condition.