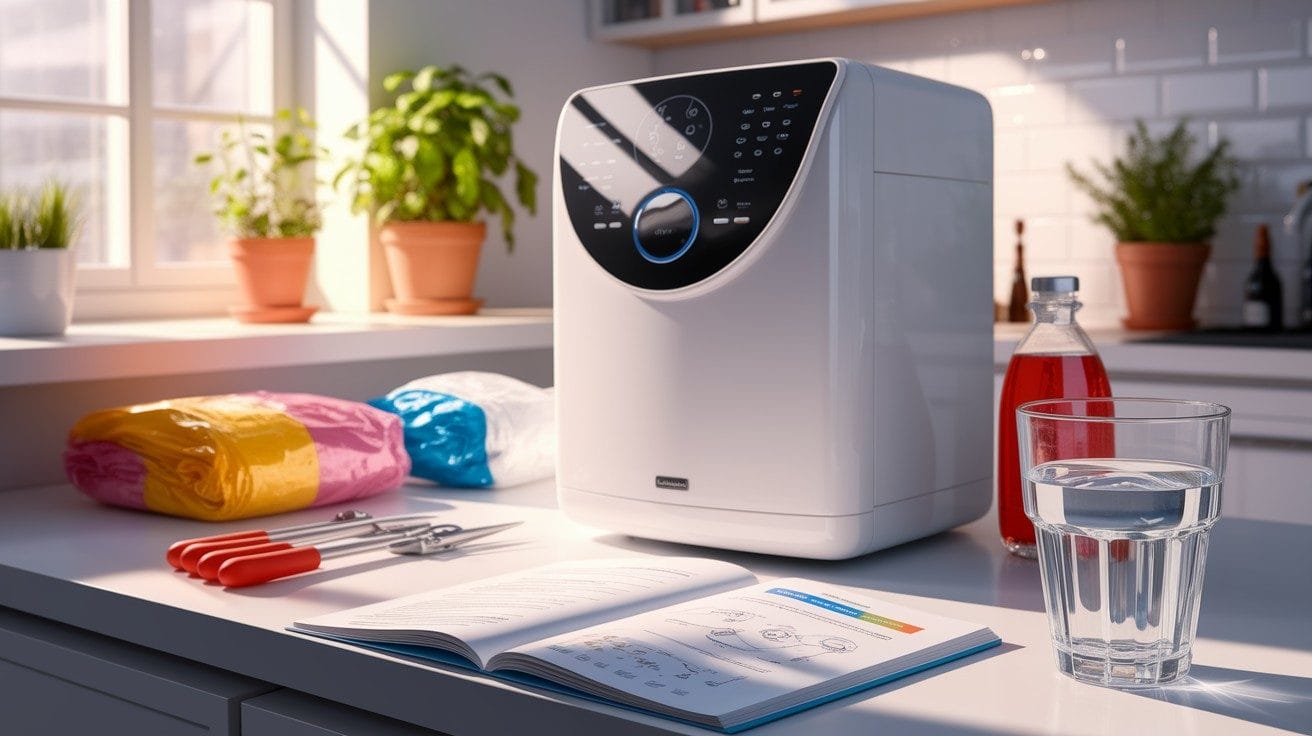
Ah, soft water! It’s one of those home comforts that, once you have it, you can’t imagine living without. Softer skin, brighter laundry, and appliances free from chalky buildup – the benefits are clear. But like any hardworking home appliance, your water softener needs a little TLC to keep performing its magic. The good news? Most water softener maintenance is straightforward and well within the reach of a DIY-oriented homeowner. This guide is your blueprint to ensuring your system runs smoothly for years to come, keeping that lovely soft water flowing.
Sparkling Start: Your Fast-Track Maintenance Blueprint
Regular maintenance is the secret ingredient to your water softener’s optimal performance and longevity. Think of it as a health check-up for your system. Its main job is to remove hard minerals like calcium and magnesium from your water. Without this, you’re back to dealing with mineral buildup in your water system, which can cause limescale on fixtures, dull-looking clothes, and less effective soaps and detergents. Consistent water softener maintenance helps prevent these common headaches and keeps your system running efficiently. Many homeowners wonder, “Can I perform maintenance on my water softener myself?” For most routine tasks, the answer is a resounding yes! This guide will walk you through the essential steps. As for “How often should I maintain my water softener?”, some checks are quick and weekly, while others are more in-depth and done quarterly or annually.

This no-fuss guide will cover:
- Keeping tabs on your salt levels.
- Caring for your brine tank to prevent issues like salt bridging.
- Understanding and managing your softener’s regeneration cycle.
- Tips for reviving your resin bed for peak softening power.
- Troubleshooting common snags and knowing when a professional eye is needed.
By following these steps from this checklist of tasks for maintaining a water softener, you’ll be well on your way to enjoying the benefits of soft water without a hitch.
Salt Check: Keeping Your Softener Fueled
Your water softener uses salt to regenerate the resin beads that trap hardness minerals. Without an adequate salt supply, your system simply can’t soften your water. That’s why checking the salt level in the brine tank is a cornerstone of diy water softener maintenance.

How Often and How Much Salt to Add?
A common question is, “How often should I add salt to my water softener?” Generally, you should check the salt level in your brine tank at least once a month. However, this can vary based on your water hardness, water usage, and the size of your brine tank. A good rule of thumb is to keep the brine tank at least one-third full of salt, ensuring the salt level is always a few inches above the water level. If you see water above the salt, it’s time to top it up. Avoid overfilling, as this can contribute to problems like salt bridging.
When adding salt to water softener units:
- Lift the lid of the brine tank.
- Check the existing salt level. If it’s low, add more salt.
- Carefully pour the new salt into the tank. Use a scoop if necessary to avoid spills.
- Don’t fill it to the very top; leave about 6 inches of space.
Using high-quality salt specifically designed for water softeners, like pellets or crystals, can also improve efficiency and reduce tank cleaning frequency. Some homeowners also opt for potassium chloride as a salt alternative, though it’s typically more expensive.
Brine Tank TLC: Avoiding Build-Up
The brine tank is where the magic of salt solution creation happens, which is vital for the regeneration cycle of your water softener system. Keeping this tank clean and functioning correctly is crucial.

Cleaning Your Water Softener Brine Tank
Over time, impurities from the salt or sediment can accumulate at the bottom of the brine tank, forming a sludge that can reduce your softener’s efficiency or even clog it. It’s a good idea to perform a thorough cleaning water softener brine tank annually, or more often if you notice issues. Here are the general steps to clean a water softener brine tank:
- Engage the bypass valve to stop water flowing to the softener.
- Disconnect the brine tank from the softener (check your manual for specifics).
- Empty any remaining salt and water from the tank. You may need to scoop out old salt and dissolve any remaining sludge.
- Clean the inside of the tank with mild soap and water. A brush can help remove stubborn residue. Avoid harsh chemicals.
- Rinse the tank thoroughly.
- Reconnect the tank, add a few gallons of fresh water, and then add new salt.
- Take the softener out of bypass mode and run a manual regeneration cycle.
Tackling Salt Bridges and Mush
Two common brine tank headaches are salt bridges and salt mushing.
- Salt Bridge: This is a hard crust of salt that forms above the water level in the brine tank. It prevents the salt below from dissolving into the water, tricking the system into thinking there’s enough salt when there isn’t. If you notice your salt level isn’t going down, you might have a salt bridge.
How to troubleshoot a salt bridge in water softener: Gently tap the outside of the tank to see if the bridge collapses. If not, carefully use a long, blunt object (like a broom handle) to gently push down on the center of the bridge until it breaks apart. Be careful not to puncture the tank.
What causes a salt bridge in a water softener? High humidity, overfilling the tank, or using the wrong type of salt can contribute to salt bridging.
- Salt Mush: This occurs when salt recrystallizes and creates a thick, slushy layer at the bottom of the brine tank, preventing proper brine draw. You’ll need to scoop out the mushy salt and clean the tank.
Regularly checking for salt bridges and clearing salt mushes are crucial to maintaining proper salt flow.
Regeneration Rhythm: Timing Your Cycles
The regeneration cycle is your water softener’s self-cleaning process. During regeneration, the resin beads that have captured hardness minerals are flushed with the brine solution from the tank, releasing the minerals and “recharging” the beads so they can soften water again. Understanding your water softener regeneration schedule is key to efficient operation.

Most modern softeners have a control panel that manages regeneration automatically, either based on time (e.g., every few days) or water volume (metered regeneration, which is more efficient). Ensure your settings are appropriate for your household’s water usage and hardness levels. Your owner’s manual will provide guidance on how to set the regeneration cycle on a water softener or adjust it if needed.
Signs your regeneration cycle might not be working correctly include:
- Hard water returning between cycles.
- The softener regenerating too frequently or not frequently enough.
- The salt level in the brine tank not decreasing over time.
If you suspect issues with regeneration, consult your manual or consider whether your system needs a deeper clean or professional attention.
Resin Revival: Maintaining Softening Performance
The heart of your water softener is the resin tank, filled with thousands of tiny softener resin beads. These beads, through an ion exchange process, are what actually remove the calcium and magnesium from your water. Over time, resin beads can become fouled with iron, sediment, or organic matter, reducing their effectiveness.
Periodic Resin Tank Cleaning
While the regular regeneration cycle cleans the resin beads to some extent, a more thorough resin tank cleaning using a specialized resin cleaner is recommended periodically – typically every 6 to 12 months. This can help extend the lifespan of your resin and maintain peak performance. Many resin cleaners are easy to use; you simply pour them into the brine well or directly into the brine tank according to the product instructions, then manually start a regeneration cycle.
Sanitizing the system, as part of deeper annual water softener maintenance, can also be beneficial, especially if you notice any slimy buildup or unusual odors. Options like zeolite, bleach (used very carefully according to manufacturer guidelines), or polystyrene resin cleaners can be used. Always follow the manufacturer’s guidelines for sanitizing your system.
Water Softener Resin Life
Softener resin doesn’t last forever, but with good water softener maintenance, it can have a long life – often 10 to 15 years, sometimes even longer, depending on water quality and usage. Eventually, you might need to consider “how to replace the resin in a water softener,” which is a more involved DIY task or a job for a professional. Signs that your resin might be nearing the end of its life include a significant decrease in softening ability despite regular maintenance and salt usage.
Quick Fixes: Solving Common Softener Snags
Even with diligent maintenance, you might occasionally encounter water softener problems. Here are a few common snags and how to approach them. Knowing these can help you determine if your water softener needs maintenance beyond the usual routine.
Common Issues and Troubleshooting Tips:
- Hard Water: If your water suddenly feels hard, check the salt level first. Is there a salt bridge? Is the bypass valve accidentally engaged? Is the unit regenerating correctly? Sometimes hard water is a sign of yellow bathwater caused by excess iron or manganese which some softeners struggle with if levels are too high.
- Not Using Salt: This often points to a salt bridge or mush, or an issue with the brine draw system (e.g., a clogged injector or faulty water softener check valve).
- Constant Regeneration or Water Flow to Drain: This could indicate a problem with the control valve, timer, or a stuck float assembly in the brine tank.
- Leaks: Check connections, O-rings, and the tanks for cracks. Minor drips can sometimes be fixed by tightening fittings, but significant leaks need prompt attention.
- Unusual Noises: While some operational noises are normal, loud or persistent new sounds could signal a problem. Sometimes, broader plumbing issues like air in your water pipes can create noises that might be mistaken for a softener issue.
- Low Water Pressure: A severely clogged resin bed or filter (if your system has one) could potentially impact water pressure, though it’s also wise to investigate other potential causes of water pressure problems in your home.
One of the first troubleshooting steps for many issues is to initiate a manual regeneration cycle and observe the softener’s behavior through each stage.
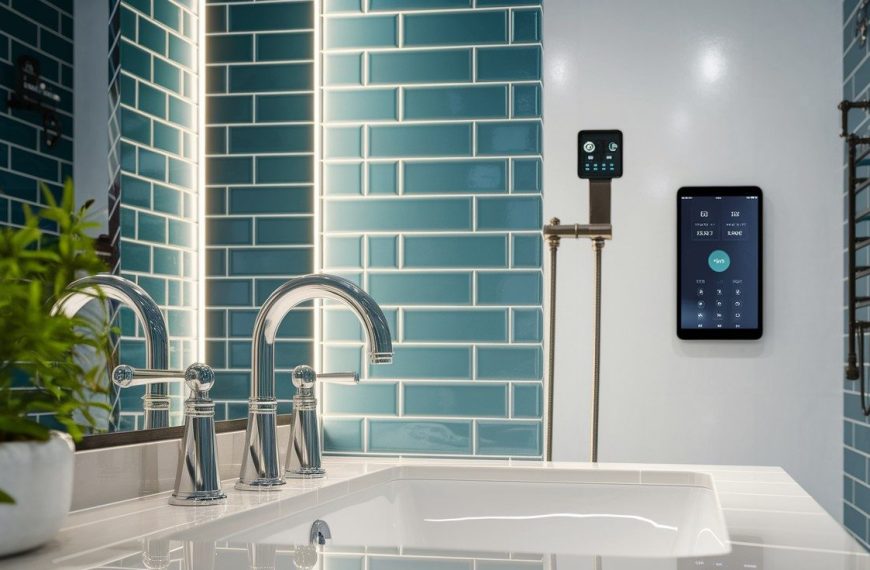
Understanding the Bypass Valve
Your water softener will have a bypass valve (or a series of valves) that allows you to divert water around the softener. Knowing how to bypass a water softener for plumbing work or during prolonged maintenance is essential. It typically involves turning one or two handles. Consult your manual to identify and operate your specific bypass valve.
When to Call a Pro: Ensuring Expert Backup
While many aspects of water softener maintenance are DIY-friendly, there are times when calling a professional water softener service is the best course of action. Don’t hesitate to seek expert help if:
- You’re facing complex mechanical or electrical issues with the control valve or motor.
- You have persistent leaks you can’t resolve.
- The softener isn’t regenerating properly despite your troubleshooting efforts.
- You’re uncomfortable performing more invasive tasks like resin tank cleaning or replacement.
- DIY troubleshooting hasn’t solved the problem of “what to do if my water softener is not softening water.”
A qualified technician can diagnose tricky problems and perform necessary water softener repair. While there’s a cost of professional water softener maintenance service, it can save you time, frustration, and potentially prevent more expensive damage down the line.
Soft Water Forever: Locking in Lifelong Performance
Consistent water softener maintenance is your ticket to enjoying the continuous benefits of soft water and prolonging water softener lifespan. By investing a little time in these simple upkeep tasks, you protect your appliance investment, keep your plumbing and other water-using appliances in better shape, and ensure your household enjoys the comfort and convenience of softened water.
Remember, a water softener is a valuable component of your whole house water filtration systems, working diligently behind the scenes. To recap key preventative measures:
- Stick to a regular schedule for checking salt and cleaning tanks. Create your own water softener maintenance checklist for homeowners to stay on track.
- Use good quality salt.
- Perform periodic resin tank cleaning with an appropriate cleaner.
- Address small issues like salt bridging promptly before they become bigger problems.
- Avoid using harsh cleaning compounds on the exterior of the unit.
- Do not stack heavy objects on the salt storage tank or timer cover.
- Schedule regular deep cleaning sessions according to your manufacturer’s guidelines. You can often find easy-to-follow tips for maintaining your water softener in your product manual or online.
By making these practices a habit, you’ll keep your water softener flowing smoothly, providing your home with the sparkling, soft water you love for many years to come.