Bathtub & Shower
What Size Allen Wrench for a Shower Handle? How to Identify It Safely
There is no universal shower-handle Allen-wrench size. Identify the trim, compare metric and SAE keys without force, and stop before stripping the set screw.
Quick answer
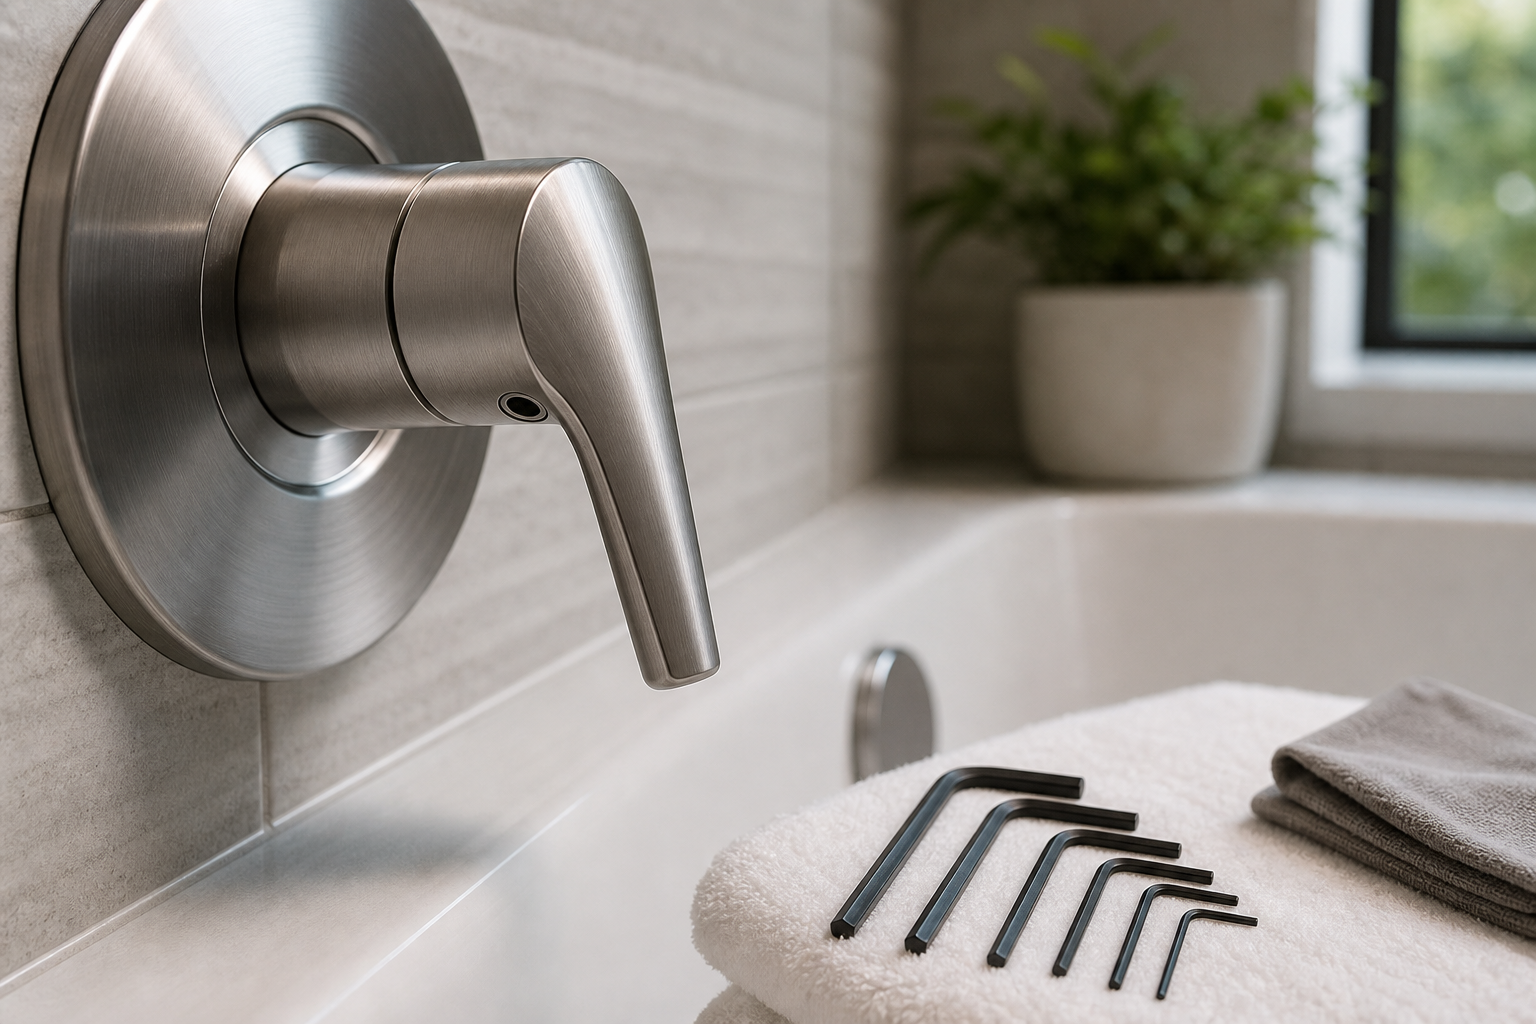
There is no universal Allen-wrench size for a shower handle. Many handles use a small hex set screw, but the correct metric or SAE size depends on the exact brand, trim series, and replacement screw. Identify the faucet first, use the installation sheet when possible, and choose the key that seats fully with almost no side-to-side play. Stop if the screw is corroded, rounded, painted over, or inaccessible without prying trim.
Do not start with the nearest key and force it. An undersized key can round the socket; an oversized key can damage the screw before it seats.
Why the wrench size varies
| What you see | What it may mean | Safe next step |
|---|---|---|
| Hex-shaped recess under or behind the lever | A metric or SAE hex set screw | Clean the recess gently, then compare keys without applying turning force. |
| Small slot or cross-shaped recess | Slotted or Phillips screw rather than a hex screw | Use the product diagram; do not insert an Allen key. |
| Decorative cap or no visible fastener | Concealed screw, threaded handle, or model-specific release | Find the trim manual before prying any cap or handle. |
| White crust, rust, paint, or a rounded recess | Mineral buildup, corrosion, coating, or prior tool damage | Photograph it and stop before making the fastener harder to remove. |
Identify the faucet before turning the screw
Look for a brand mark on the handle, escutcheon, showerhead, tub spout, or nearby valve trim. Photograph the full trim and the fastener location. If the brand is known, compare the shape and handle orientation with the manufacturer's product-identification page and installation sheet. Delta's official product-identification and parts page is one example of the model-first process; use the equivalent official support page for the brand actually installed.
- Record whether the handle is a lever, knob, cross handle, or temperature-control dial.
- Note whether the fastener points downward, sideways, or toward the wall.
- Check paperwork, an invoice, or a model label saved by the installer.
- Search by the full model or trim-series number, not by appearance alone.
A safe tool check without rounding the screw
- Dry the shower floor and handle so the key cannot slip from a wet hand.
- Use a flashlight to confirm that the recess is actually hex-shaped and free of loose debris.
- Try clean, unworn metric and SAE keys by hand with no turning pressure.
- Select only a key that enters to the bottom and has almost no visible play.
- Before loosening anything, confirm the manual's direction and whether the handle must be in a particular position.
This check identifies tool fit; it is not permission to dismantle the valve. A shower handle can be connected to model-specific trim, temperature-limit parts, cartridges, or concealed plumbing.
When to stop and call for help
- The key rocks in the socket, will not seat fully, or begins to shave metal.
- The set screw is stripped, seized, corroded, painted over, or recessed where you cannot keep the tool straight.
- The escutcheon or pipe moves, water appears behind the trim, or the handle is attached to an unfamiliar temperature-control system.
- Removing the handle would lead to cartridge, valve-body, hidden-pipe, anti-scald, or wall work.
A plumber or manufacturer support representative can identify the trim from clear photos and help locate the correct installation sheet or replacement screw before further damage occurs.
Sources for this guide
- Delta Faucet: find parts and identify a product — official model-identification and document lookup.
Related guides
Decision aid: What Size Allen Wrench for a Shower Handle? How to Identify It Safely
Start by identifying the relevant symptom, fixture, or planning question before choosing parts or arranging work.
Write down when the issue began, what changed, which fixtures are affected, and any model or service-history details. That record makes it easier to compare the article with the exact product documentation and to explain the problem if qualified help is needed.
- Note whether the problem is at the trim, spout, showerhead, drain, valve, wall, or ceiling below before choosing a remedy.
- Match product-specific directions to the exact model manual and confirm local requirements where installation, gas, electricity, water quality, or structural work is involved.
- Stop if trim movement affects piping in the wall, waterproofing is damaged, or water appears outside the bathing area.
Authoritative references for this topic
Use the current version of these sources to verify safety, efficiency, health, or product-specific details that apply to your situation.