Toilet
Toilet Tank Losing Water but No Visible Leak: What to Check
Confirm a falling toilet-tank level, interpret a dye test correctly, and separate tank-to-bowl loss from refill-tube siphoning or external water.
Quick answer
A toilet tank can lose water without leaving a visible floor puddle because water may be moving internally into the bowl. Common possibilities include leakage past a flapper or canister seal, water entering the overflow, or a refill tube positioned so it can siphon. A positive dye test proves that tank water reached the bowl; it does not identify the failed part. Start by confirming that the tank level—not only the bowl level—is falling while the toilet sits unused.
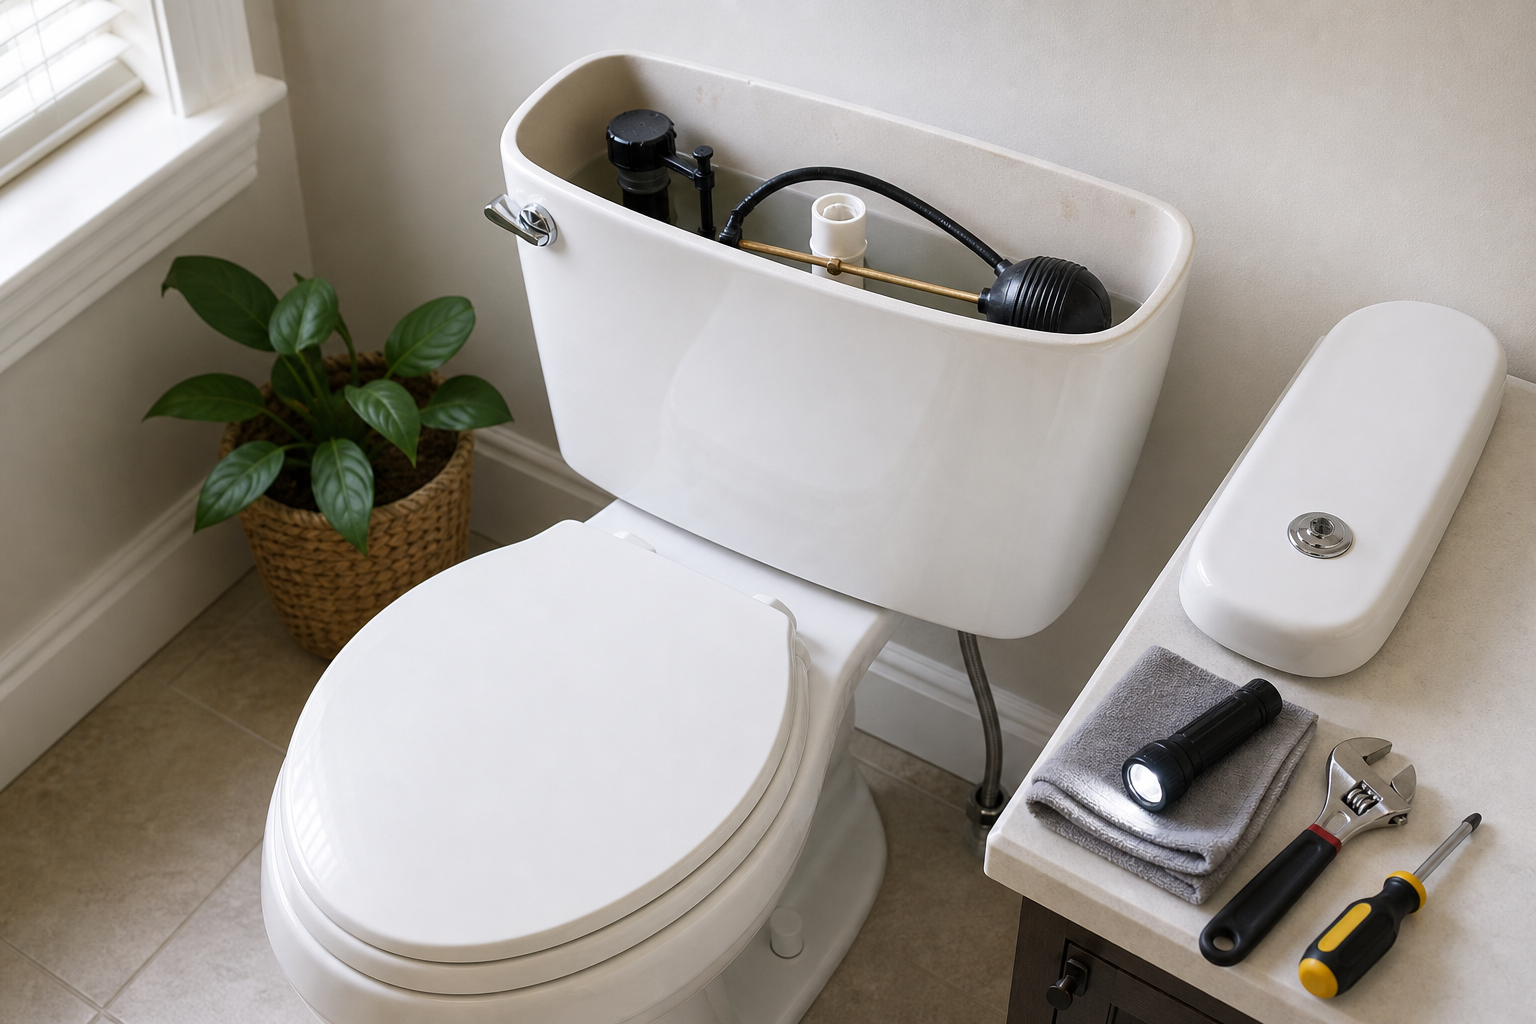
Before any tank access, confirm that this is an identified conventional gravity toilet with a removable tank lid. Lift that lid with both hands and place it flat on a towel. Do not open or apply these tank observations to concealed, in-wall, electronic, pressure-assisted, or unidentified systems.
Confirm which level is falling
- Begin with dry exterior surfaces. If the tank, supply connection, bolts, base, floor, or ceiling below is wet, treat that as a possible external leak rather than “no leak.” Toilet tank condensation can mimic an external leak, so note whether moisture is a broad surface film or starts at one point.
- Wait for a settled fill. After the refill cycle stops, photograph the tank waterline against a fixed tank feature. Do not move the float or other parts.
- Observe while unused. If the tank level falls and the fill valve later starts briefly, an internal loss path is likely. If only the bowl level falls while the tank stays stable, use the separate guide to bowl water that drops while the tank level stays stable.
If the tank level is stable but simply looks high or low, compare it with the model-specific normal tank waterline instead. A stable setting and an ongoing loss are different problems.
Use a dye test correctly
The EPA WaterSense Fix a Leak Week guide gives a simple tank-to-bowl leak check:
- Add a few drops of food coloring to the toilet tank.
- Wait 10 minutes without flushing.
- Inspect the bowl before any flush. Color that appears in the bowl during the waiting period means tank water reached the bowl.
- Flush promptly after checking to reduce the chance of staining.
A positive result does not prove that the flapper is the only cause. A flapper, canister seal, overflow condition, or another tank-to-bowl path may be involved. A negative result does not rule out a supply, bolt, gasket, crack, base, intermittent, or concealed leak.
Tank-loss patterns
| Pattern | What it may suggest | Safe next step |
|---|---|---|
| Dye reaches the bowl before flushing | Tank water has an internal path to the bowl | Record the result and identify the flush mechanism before ordering parts |
| Tank level falls, then the fill valve starts briefly while unused | Periodic refill is replacing lost tank water | Note timing and whether bowl ripples or overflow flow are visible |
| Tank level falls below the flapper or canister-seal area | A different internal path, overflow assembly, or tank defect may be involved | Stop the observation and arrange qualified diagnosis rather than assuming one part |
| Water appears outside the tank, at the base, or below the bathroom | This is no longer a no-visible-leak condition | Protect the area and call a plumber; shut off only if the valve is known to work safely |
Check the refill-tube position visually
KOHLER’s refill-hose guidance explains that a hose end below the tank waterline can create siphoning into the bowl. Look only at whether the tube is clipped at the overflow opening or pushed down into it. Do not trim, reposition, or replace the tube from a general guide; tower-style and other mechanisms can have different arrangements.
KOHLER’s occasional-running guide also distinguishes flapper and canister systems and describes a fill valve restarting after the level falls. Use those patterns to document the problem, not to make a universal one-part diagnosis.
If the dominant symptom is a sound immediately after flushing, see a toilet that hisses after flushing. If a high-pitched noise begins while the toilet is untouched, see a high-pitched noise while the toilet is not in use. For a toilet that continues filling rather than quietly losing a settled level, see a toilet that keeps running after flushing.
When to stop and get help
Stop before disassembly if the mechanism or model is unknown, the tank is cracked, the toilet rocks, water appears outside the fixture, the shutoff is corroded or leaks, the toilet is concealed or pressure-assisted, or the tank level falls below the apparent flush-seal area. Do not force an old valve, cut a tube, tighten tank bolts, or replace parts based only on a dye-test result. A qualified plumber can separate seal, overflow, refill, tank, supply, and installation problems without creating a larger leak.
Sources for this guide
- U.S. EPA WaterSense — Fix a Leak Week — supports adding food coloring, waiting 10 minutes without flushing, checking the bowl for color, and flushing promptly afterward; accessed July 14, 2026.
- KOHLER Assist — Toilet Occasionally Leaking or Running — supports periodic refill after tank-level loss and distinguishes trip-lever, overflow, flapper, and canister-seal possibilities; accessed July 14, 2026.
- KOHLER Assist — Tank Leak: Fill Valve Hose Position — supports refill-hose siphoning as a possible slow internal loss path; accessed July 14, 2026.
- Korky — How to Fix a Running Toilet — supports marking/observing the tank endpoint and treating the stopping level as diagnostic context rather than proof of one failed part; accessed July 14, 2026.
Decision aid: Toilet Tank Losing Water but No Visible Leak: What to Check
Start by identifying the relevant symptom, fixture, or planning question before choosing parts or arranging work.
Write down when the issue began, what changed, which fixtures are affected, and any model or service-history details. That record makes it easier to compare the article with the exact product documentation and to explain the problem if qualified help is needed.
- Confirm the toilet model, whether the symptom occurs during refill or flushing, and whether water is visible outside the bowl or tank.
- Match product-specific directions to the exact model manual and confirm local requirements where installation, gas, electricity, water quality, or structural work is involved.
- Stop if the toilet rocks, leaks at the base, the shutoff is stuck, or more than one fixture backs up.
Authoritative references for this topic
Use the current version of these sources to verify safety, efficiency, health, or product-specific details that apply to your situation.