Faucet & Sink
What Is a Dual-Mount Sink? Fit and Countertop Planning
A dual-mount sink can be installed as drop-in or undermount only when the sink, counter, clips, and support method are compatible.
Quick answer
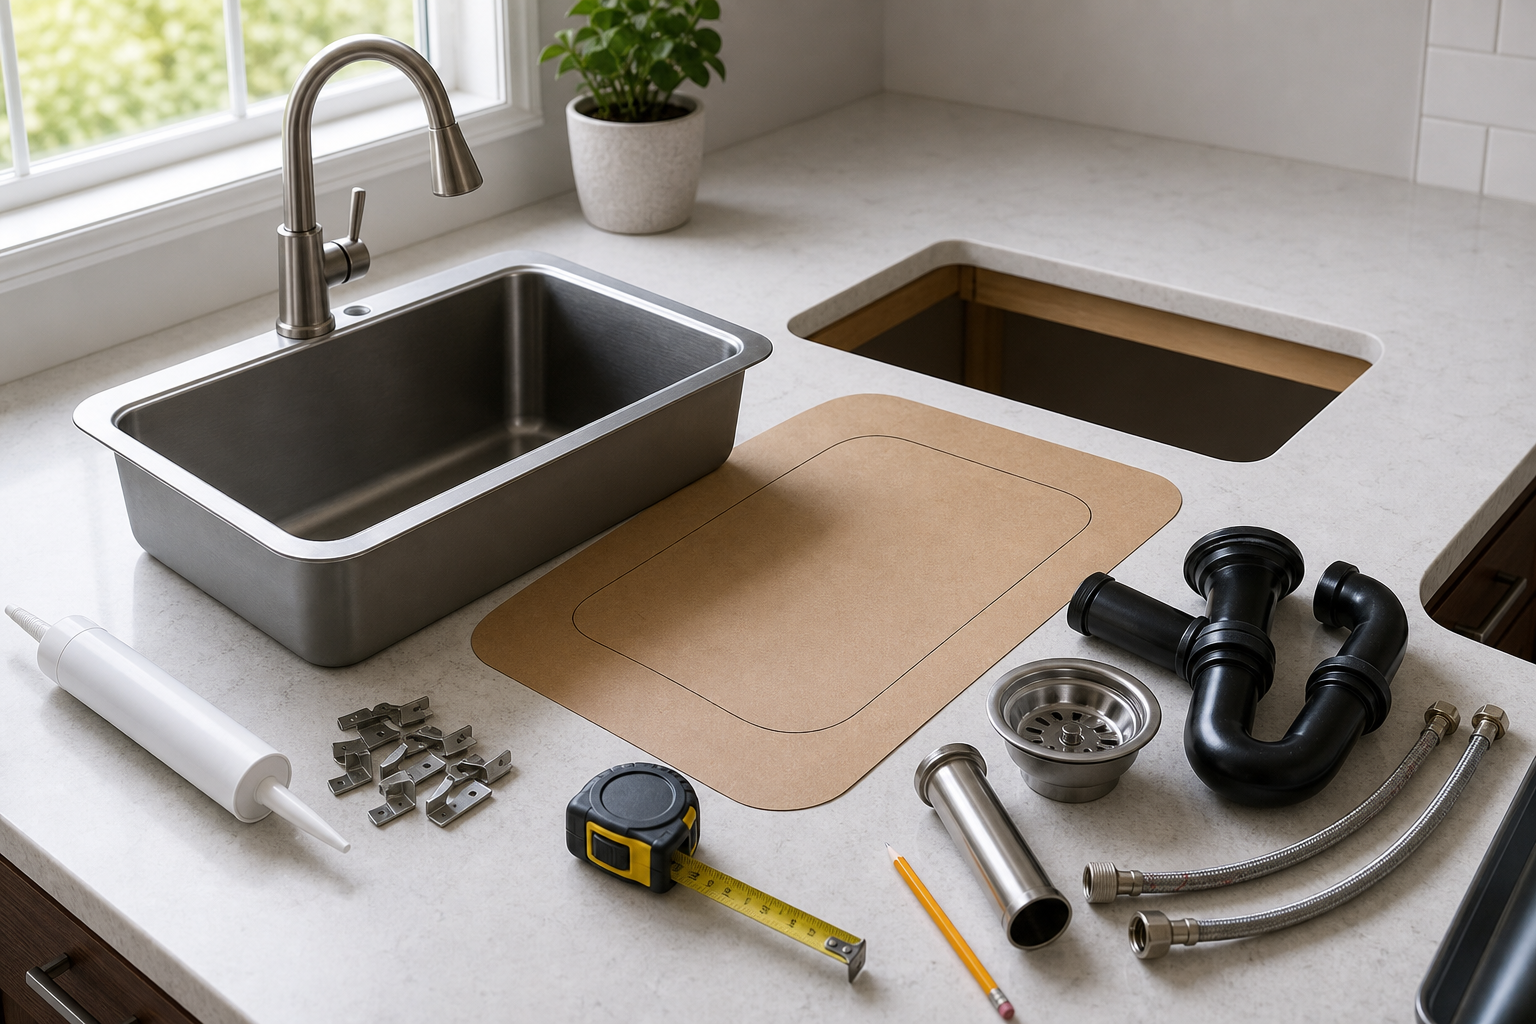
A dual-mount sink is a sink whose manufacturer documents the exact model for two mounting approaches: drop-in (also called top-mount), with the rim above the countertop, or undermount, with the rim below it. The label describes mounting options; it does not mean “double-bowl,” and it does not guarantee that both options will work with an existing countertop or cabinet.
Start with the sink’s brand and model number. Then find its current specification sheet, installation manual, and cutout document. Those model-specific records—not a generic dual-mount diagram—should control the fit decision.
This guide is for identification, visible checks, and preparing questions for a sink installer, countertop fabricator, or plumber. It does not provide sink-removal, countertop-cutting, drain, disposer, electrical, support, or installation instructions.
What this guide can and cannot help with
This guide can help you identify a sink, compare the exact model documents, record visible fit information, and prepare questions for the professionals responsible for countertop fabrication, sink support, plumbing, or electrical work. It cannot confirm hidden support, approve a cutout, or replace the manufacturer’s current instructions or a site assessment.
What the label does and does not tell you
The manufacturer examples checked for this guide show why the label needs a model-specific limit. Elkay describes its ECTSR25229TBG as a dual-mount sink and lists its installation types as drop-in and undermount. The Kraus KHT411-25/KHT410-33 manual is titled for dual-mount sinks and has separate top-mount and undermount sections.
That evidence supports a plain-language definition of the label, but not a universal construction rule. Rim shape, included hardware, cutout, reveal choices, countertop limits, minimum cabinet size, faucet-hole layout, and support details can vary by model.
“Dual mount” also does not answer these separate questions:
- whether the sink has one bowl or two;
- whether its drain is centered or offset;
- whether the existing cutout is usable;
- whether a disposer, faucet, soap dispenser, or other accessory will clear the cabinet;
- whether the countertop edge is suitable to be exposed around an undermount sink; or
- whether the cabinet and support plan can carry the complete installed load.
Identify the exact sink before comparing fit
Look for a model number on the product label, packaging, receipt, order confirmation, or manufacturer paperwork. If the sink is already installed, photograph only labels and surfaces that are visible without disconnecting plumbing, removing a disposer, reaching around wiring, or disturbing mounting hardware.
Record:
- manufacturer and exact model number;
- overall sink dimensions shown in the specification sheet;
- bowl dimensions and drain location;
- minimum cabinet size;
- listed installation types;
- faucet-hole count and accessory holes;
- cutout-template or drawing number; and
- the document title, URL, and revision date when one is shown.
Model numbers matter even when two sinks look alike. For example, the checked Elkay ECTSR25229TBG and Kraus KHT411-25 documents both describe 25-by-22-inch dual-mount sinks, but they list different minimum cabinet sizes: 30 inches for the Elkay model and 27 inches for the Kraus model. Do not transfer either measurement to another sink.
Treat a listed minimum cabinet size as a document value to compare with the exact cabinet, not as proof that an existing installation is workable. Opening dimensions, support, counter material, and accessory clearances still need to be checked against the model documents and the installer’s plan.
Compare the two mounting approaches on paper
For a drop-in or top-mount plan, the rim remains visible on top of the counter. Verify the exact model’s cutout, rim coverage, maximum countertop thickness if the manufacturer specifies one, faucet-hole layout, cabinet clearance, and mounting-hardware requirements.
For an undermount plan, the countertop opening and edge remain visible above the bowl. Verify the exact model’s undermount drawing, allowed reveal options, counter material, support method, faucet and plumbing clearance, and the fabricator’s requirements.
This comparison is a planning exercise, not a reason to test-fit the sink. A manufacturer template can be model-specific and still require confirmation against the actual sink. The checked Kraus documents, for example, tell readers to use the supplied cutout template and check it against the sink for proper fit.
What to check visibly
Without loosening or removing anything, document:
- the sink from above, including the complete rim and faucet deck;
- the countertop material and the visible condition around the opening;
- the cabinet interior from a safe viewing position, only if it is dry and free of electrical risk;
- visible labels, clips, rails, brackets, or support members without touching them;
- faucet, accessory, drain, and disposer locations;
- cabinet walls, shelves, drawers, and other possible clearance limits; and
- stains, swelling, cracks, corrosion, gaps, movement already noticed during normal use, or active drips.
A photo cannot prove that hidden support is adequate. If the sink appears loose or the countertop or cabinet looks damaged, stop using the area as needed to prevent further damage and ask a qualified professional to assess it.
Documents to collect before buying or scheduling work
Keep one folder with:
- the exact sink product page and specification sheet;
- the installation manual for the exact model;
- the correct top-mount and/or undermount cutout document;
- countertop manufacturer or fabricator guidance for the identified material;
- photos and measurements of the existing opening and cabinet;
- faucet, drain, disposer, and accessory model information; and
- the installer’s written answer about cutout, support, clearances, and who is responsible for plumbing or electrical reconnection.
If a retailer listing conflicts with the manufacturer’s current model documents, pause the purchase and ask the manufacturer or installer to confirm the exact model in writing.
Make the source packet easy to recheck
A small source packet is easier to review than a folder of unlabeled screenshots. This is an organization method, not a fit approval:
- Save the exact model number, document title, URL, and revision or access date together.
- Write the claim beside the source that supports it—for example, mounting type, cabinet minimum, cutout/template, or countertop limit.
- Keep Elkay and Kraus measurements on separate lines. Do not merge values from different models into one “typical” sink specification.
- Mark each question as documented, needs manufacturer confirmation, or needs a site assessment.
For faucet-hole and accessory planning, the faucet specification-sheet comparison guide shows the same model-first recordkeeping idea. For drain or disposer terminology, use What Is a Sink Flange? without treating that component guide as a sink-fit decision.
Prepare a privacy-safe photo record
Photos can help a professional understand visible fit questions, but they should document the fixture without exposing personal information or inviting hidden-system inspection.
- Take one wider photo showing the sink, countertop, faucet deck, and cabinet context.
- Take close photos of model labels, the visible rim and counter edge, and any visible clips or support members only from a safe, accessible position.
- Keep photos, measurements, the exact model documents, and the date together under a clear filename or folder name.
- Crop addresses, receipts, names, account details, and other private information that is not needed for a fit question.
- Write down whether the photo was taken before any work and whether you observed movement, swelling, a gap, or an active drip.
Do not remove doors, drawers, a disposer, plumbing, trim, or wiring to get a better angle. If the cabinet is wet, electrical equipment is nearby, or the sink appears to be separating from the counter, stop and use the qualified-help guidance below.
For a broader records routine, see How to Create a Plumbing Maintenance Calendar. Keep this sink guide focused on model-specific fit questions, not a general home inventory.
Questions to take to the professional
Bring the folder and ask the person responsible for each part of the work to answer model-specific questions before anyone changes the opening or disconnects anything:
- Which exact manufacturer template, revision, and mounting approach will control the plan?
- Does the existing countertop material and edge condition fit the selected approach, or does a countertop fabricator need to assess it?
- How will the sink be supported, and who is responsible for confirming that support without relying on sealant alone?
- Will the faucet, drain, disposer, water lines, and cabinet storage have the clearances shown in the exact model documents?
- What written scope identifies the plumbing, countertop, cabinet, and electrical responsibilities, if any?
For background on the drain-side terminology, see What Is a Sink Flange?. That guide does not replace the exact sink manual or a professional fit assessment.
A simple fit worksheet
Before buying a sink or scheduling work, mark each item as documented, needs manufacturer confirmation, or needs a site assessment:
- exact model, listed mounting options, and cutout-template number;
- countertop material and any safely accessible opening dimensions;
- cabinet width and depth, faucet and accessory holes, drain or disposer position, and visible clearance limits; and
- which professional will handle countertop fabrication, sink support, plumbing connections, or electrical work.
A photo or accessible measurement cannot prove that hidden support, a drain connection, or an electrical connection is adequate. Leave those questions for the exact product documents and the appropriately qualified professional.
What not to do
- Do not assume the word “dual-mount” makes a sink compatible with every countertop.
- Do not reuse a cutout measurement from a similar-looking sink or another size in the same collection.
- Do not cut, drill, grind, pry, or enlarge a countertop opening from this guide.
- Do not loosen clips, rails, adhesive, drains, supply lines, shutoff valves, or disposer parts to investigate fit.
- Do not reach around a disposer or wiring, or work in a wet cabinet near electrical equipment.
- Do not treat sealant as a substitute for the support method required by the sink and countertop documents.
When to call a qualified professional
Use a qualified sink installer or countertop fabricator when the plan involves a new or altered cutout, stone or solid-surface fabrication, an undermount support system, a damaged counter edge, a swollen cabinet, or uncertainty about load and clearances.
Use a qualified plumber for active leaks, drain or supply changes, corroded or leaking shutoff valves, or plumbing that must be disconnected or repositioned. Use an appropriately qualified appliance or electrical professional for disposer wiring or other electrical work.
Do not delay urgent help for active flooding, a sagging or separating sink, water near electrical components, structural damage, or wastewater backing into the sink.
Sources for this guide
- Elkay ECTSR25229TBG product page — identifies the exact sink as dual mount and lists drop-in and undermount installation types; accessed August 26, 2026.
- Elkay ECTSR25229TBG specification sheet — supplies model-specific dimensions, minimum cabinet size, and cutout-template information; accessed August 26, 2026.
- Kraus KHT411-25 / KHT410-33 dual-mount installation manual — separates top-mount and undermount sections, directs readers to the supplied cutout template, and supports the professional-installation boundary; accessed August 26, 2026.
- Kraus KHT411-25 specification sheet — provides model-specific dimensions, required minimum cabinet size, hardware, and a top-mount countertop-thickness limit; accessed August 26, 2026.