Faucet & Sink
How to Remove Old Caulk From Sink Edges Without Damaging Surfaces
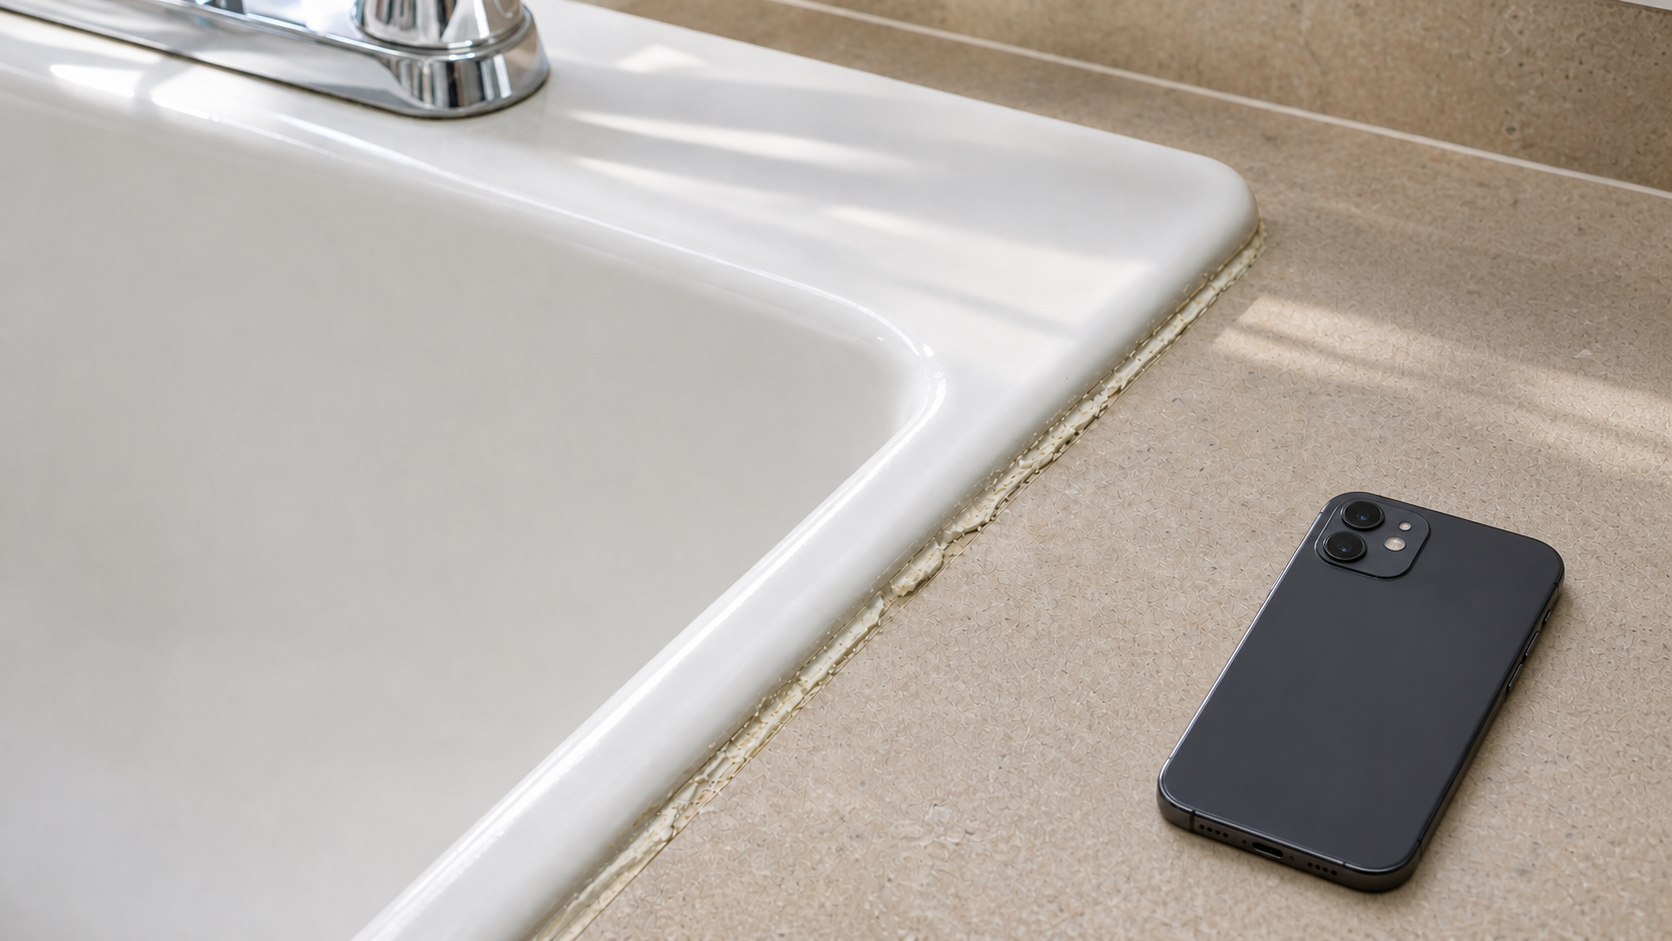
Identify the sink, counter, old sealant, moisture condition, and exact product limits before removing an accessible sink-edge caulk bead.
Quick answer
Old caulk at a sink edge should be treated as a surface and moisture question before it becomes a scraping job. Identify the sink, counter, and sealant; confirm that the sink is stable and the area is dry; then follow only a remover and tool method allowed by the exact product label and both surface manufacturers.
Do not begin with a razor, utility knife, metal scraper, guessed solvent, vinegar, bleach, or a mixture of cleaners. This guide covers cautious removal of accessible old sealant. It does not cover sink mounting, leak repair, damaged countertops, mold remediation, selecting new sealant, or recaulking and cure times.
Check the seam before removing anything
| What you observe | Why it matters | Safe next step |
|---|---|---|
| A loose or split bead, but the sink stays stable and the surrounding material is dry | The accessible sealant may be removable without disturbing the sink | Identify the surfaces and old sealant, then check exact care and remover instructions |
| The sink rim moves, the gap changes, or clips or supports appear loose | The seam may involve mounting or support, not just a cosmetic bead | Stop before removing the bead and arrange a plumber, installer, or countertop professional |
| The counter is swollen, soft, cracked, delaminating, stained, or repeatedly damp | Covering the joint may hide an unresolved moisture or material problem | Stop, document the area, and correct the moisture source before finish work |
| The sealant type or surface finish is unknown | A remover that works on one sealant or substrate can fail or damage another | Do not apply a remover until its technical sheet specifically permits the sealant and surfaces |
Identify the surface and sealant first
Record whether the sink and surrounding counter are stainless steel, enameled or glazed material, solid surface, laminate, stone, composite, or another documented material. Note any coating, refinishing, painted edge, wallpaper, or adjacent trim. Use product records and manufacturer care sheets rather than appearance alone.
Also determine whether the old bead is known to be latex/acrylic, silicone, polyurethane, or unidentified. DAP’s CAULK-BE-GONE technical data sheet is a useful example of why this distinction matters: that specific remover is intended for most latex caulks, does not work on silicone or polyurethane, and excludes or cautions against several refinished and plastic substrates. Its instructions therefore must not be generalized to every sink edge.
A label-led removal sequence
- Clear the area, keep children and pets away, provide the ventilation and protective equipment named on the selected product’s current label or Safety Data Sheet, and dry the seam.
- Photograph the entire rim, the failed section, and any moisture or surface damage before altering it.
- Read the sink and countertop care instructions plus the remover’s current technical sheet and safety document. If any one of them prohibits the product or leaves compatibility uncertain, stop.
- When the exact remover instructs a small inconspicuous compatibility test, complete that label step and check the surface before wider use. Protect adjacent finishes only in the manner the label permits.
- Use only the application time, cleanup method, and tool named for that exact remover. If its instructions allow a plastic scraper after the sealant softens, keep that advice product-specific; do not substitute a metal blade or force material that remains bonded.
- Keep chemical products separate. Do not combine removers, bleach, acids, solvents, or household cleaners, and do not improvise with a product that is not labeled for the sealant and surface. EPA’s household-hazardous-waste guidance says to follow product labels carefully and never mix leftover household hazardous products because incompatible products can react.
- Stop when residue will not release within the documented method, the finish changes, the surface scratches or softens, moisture appears, or the sink begins to move.
DAP’s current Safety Data Sheet for its remover calls for adequate ventilation, fresh-air entry during application and drying, hand washing, and specified eye and skin protection. Those controls apply to that product. Another remover may have different hazards and directions, so its own current label and SDS control.
Moisture and movement stop points
Do not seal over an unresolved leak or damaged material. EPA’s mold-cleanup guidance says to fix plumbing leaks and other water problems as soon as possible, dry affected items completely, and not paint or caulk moldy surfaces before cleaning and drying them. For a sink edge, repeated dampness, cabinet staining, a soft or swollen counter, persistent musty odor, or recurring growth is a stop point: document the condition and arrange the appropriate assessment before finish work continues.
Get qualified help when the sink moves, mounting hardware is loose or inaccessible, water appears below the sink, the counter or cabinet is damaged, electrical equipment is nearby, the affected area is more than a small accessible surface seam, or safe removal would require lifting the sink or cutting into the counter.
What to document for the next decision
- Sink and countertop manufacturer, model, material, finish, and care sheet
- Old sealant type or the fact that it remains unidentified
- Remover name, current technical sheet, SDS revision, and allowed substrates
- Wide and close photographs before any removal
- Whether moisture appears during normal sink use and where it begins
- Any sink movement, changing gap, soft material, staining, or cabinet damage
Sources for this guide
- DAP CAULK-BE-GONE Latex Caulk Remover technical data sheet — shows why sealant type, substrate compatibility, testing, timing, and tool guidance must remain product-specific; accessed July 14, 2026.
- DAP CAULK-BE-GONE Safety Data Sheet 7718201 — provides the manufacturer’s handling and protective measures for that remover; revised March 28, 2024 and accessed July 14, 2026.
- U.S. EPA: Mold Cleanup in Your Home — supports fixing plumbing leaks and moisture problems before finish work; accessed July 14, 2026.
- U.S. EPA: Household Hazardous Waste — supports following product labels and never mixing leftover household hazardous products; accessed July 14, 2026.
Related guides
Decision aid: How to Remove Old Caulk From Sink Edges Without Damaging Surfaces
Start by identifying the relevant symptom, fixture, or planning question before choosing parts or arranging work.
Write down when the issue began, what changed, which fixtures are affected, and any model or service-history details. That record makes it easier to compare the article with the exact product documentation and to explain the problem if qualified help is needed.
- Separate a faucet or supply symptom from a drain symptom, and note whether it affects hot water, cold water, or both.
- Match product-specific directions to the exact model manual and confirm local requirements where installation, gas, electricity, water quality, or structural work is involved.
- Stop if water reaches a cabinet, wall, floor, or electrical part, or if a shutoff or fixture starts to move when it should not.
Authoritative references for this topic
Use the current version of these sources to verify safety, efficiency, health, or product-specific details that apply to your situation.